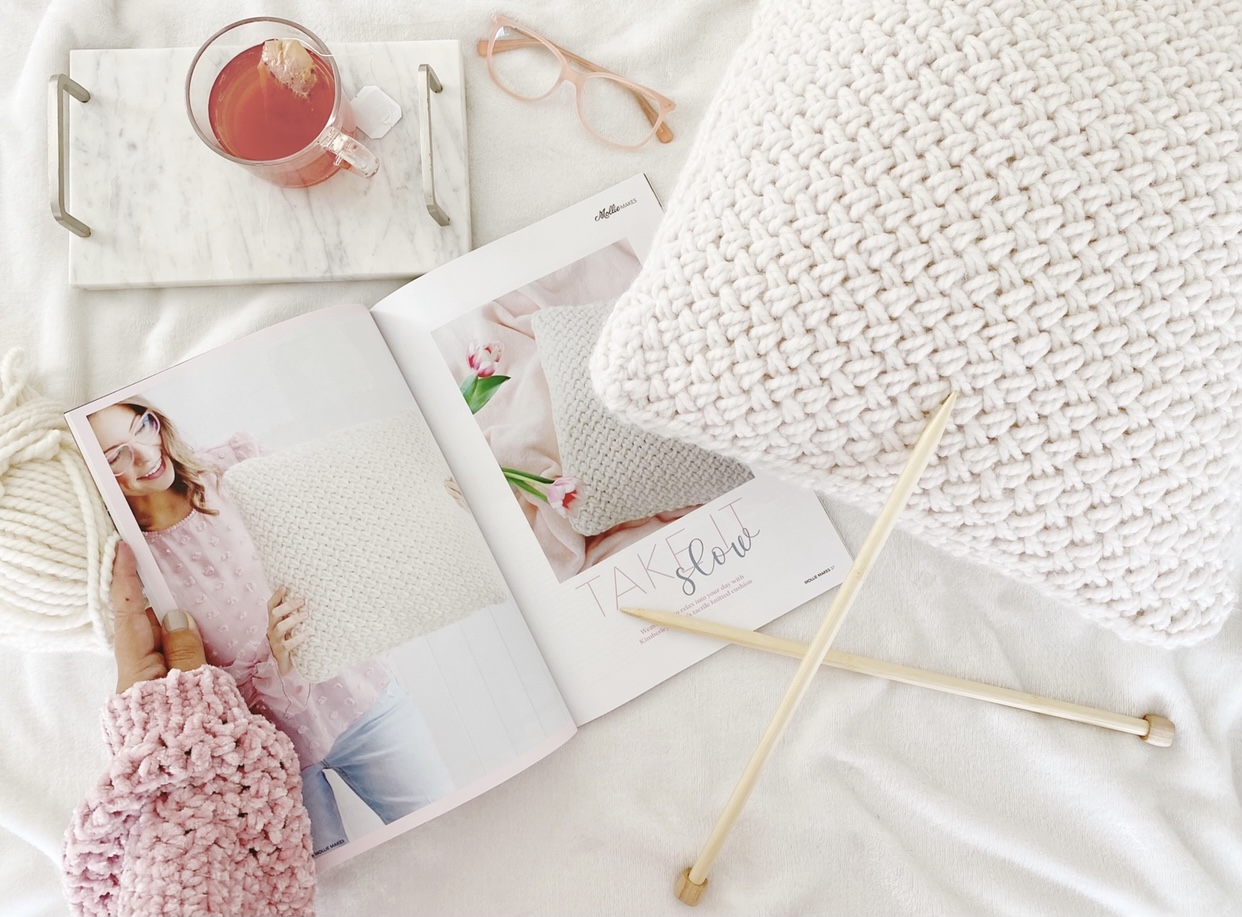
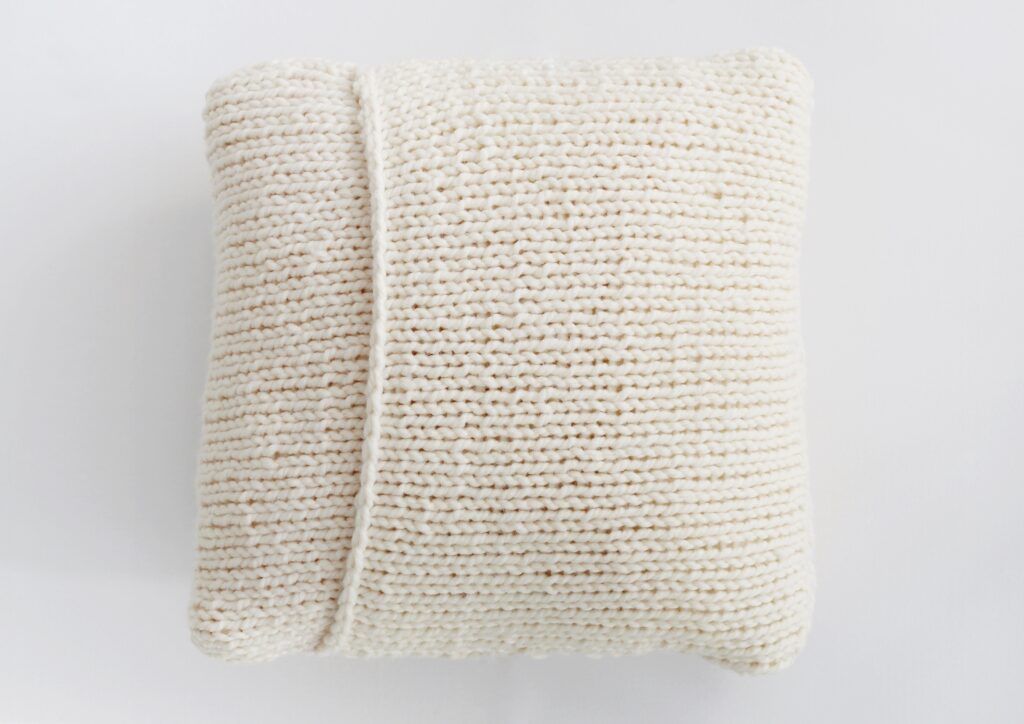
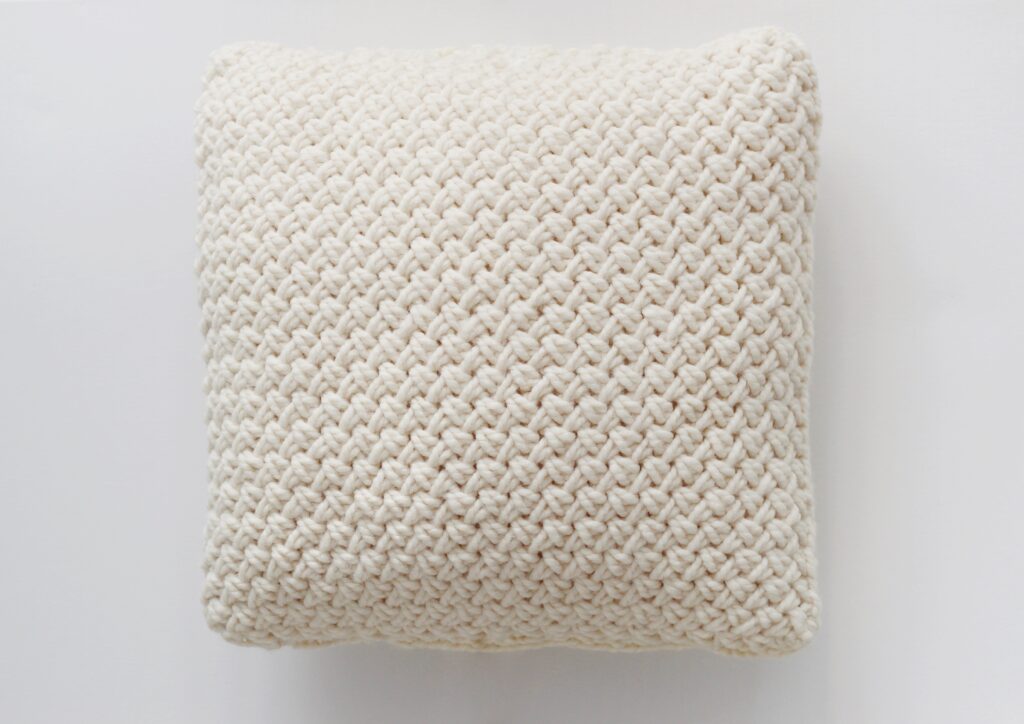
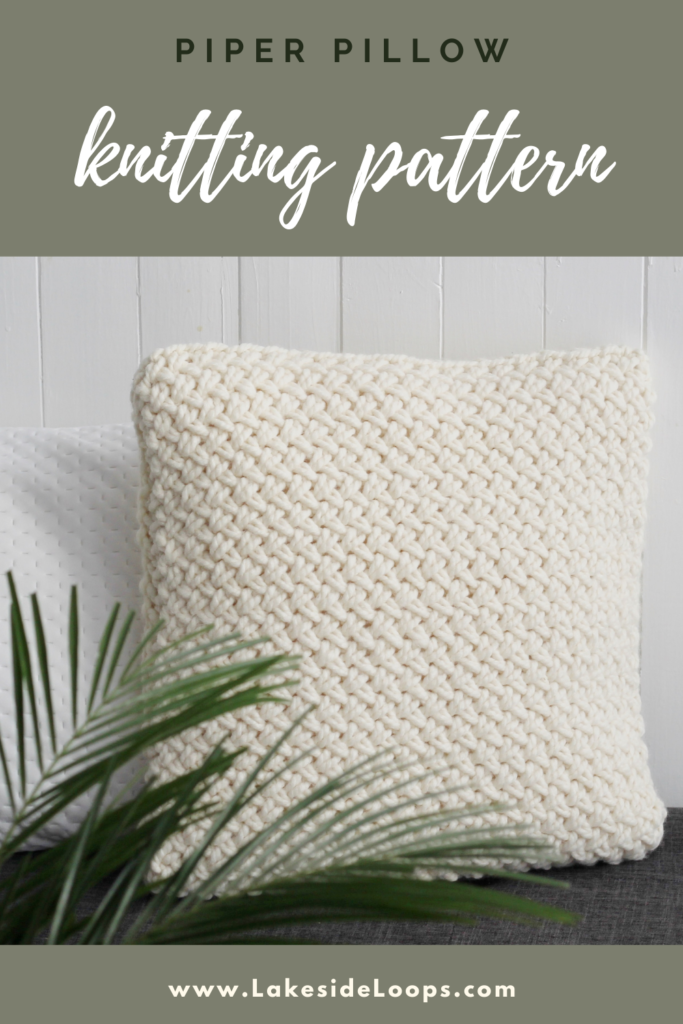
This easy criss-cross textured pillow cover is knitted using Lion Brand® Wool-Ease® Thick & Quick® yarn and is the perfect meditative make for a relaxing weekend in. This classic wicker stitch cushion cover design is sure to be a timeless addition to your home decor. Featured in a Spring issue (#128) of Mollie Makes magazine I’m very excited to now share the basket weave design with you all! Scroll down for the free pattern or purchase an inexpensive downloadable PDF from Etsy HERE or Ravelry HERE!
I was so excited when Mollie Makes reached out for a simple textured cushion cover design for issue #128 of their magazine. Their publication is colorful, fun, and full of crafty inspiration! They were wonderful to work with and it was a special treat to see one of my patterns in print (rather than my usual digital format). You can learn more about the magazine HERE.
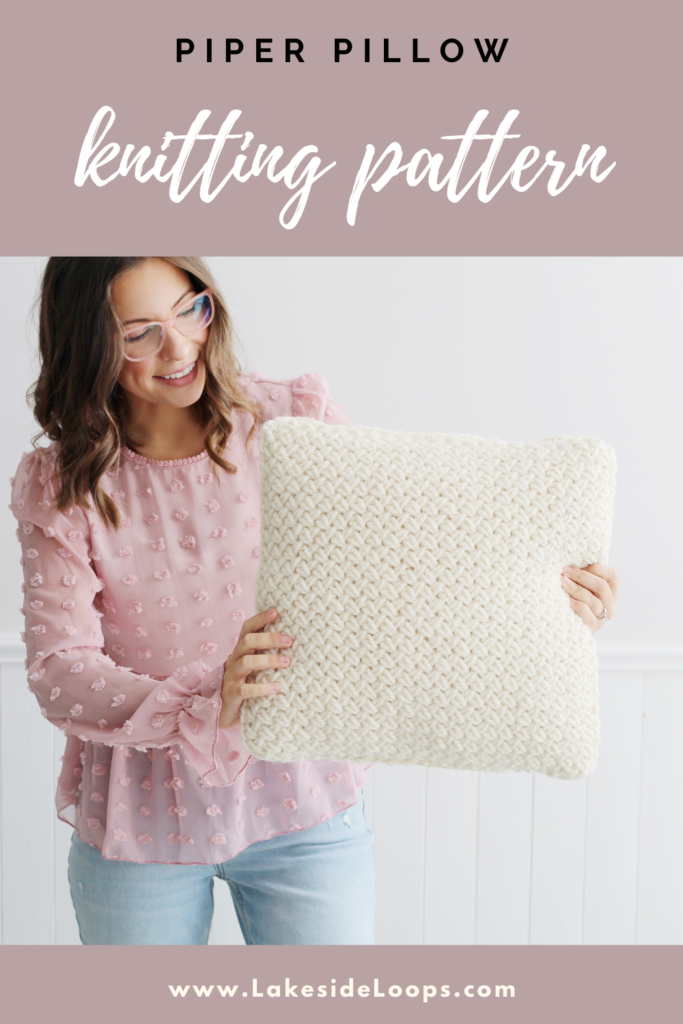
I’m relatively new to knitting (I’ve been crocheting for 20+ years and knitting for only 3). It was a fun challenge to design a piece that’s both textured and beginner friendly. If you know how to knit and purl you can definitely tackle this design!
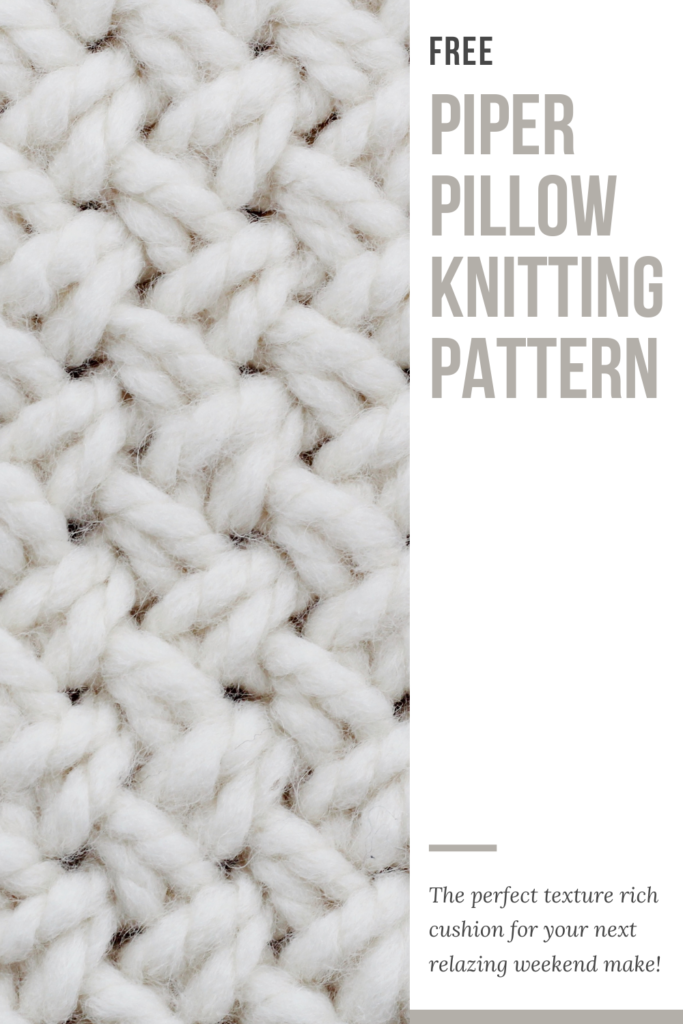
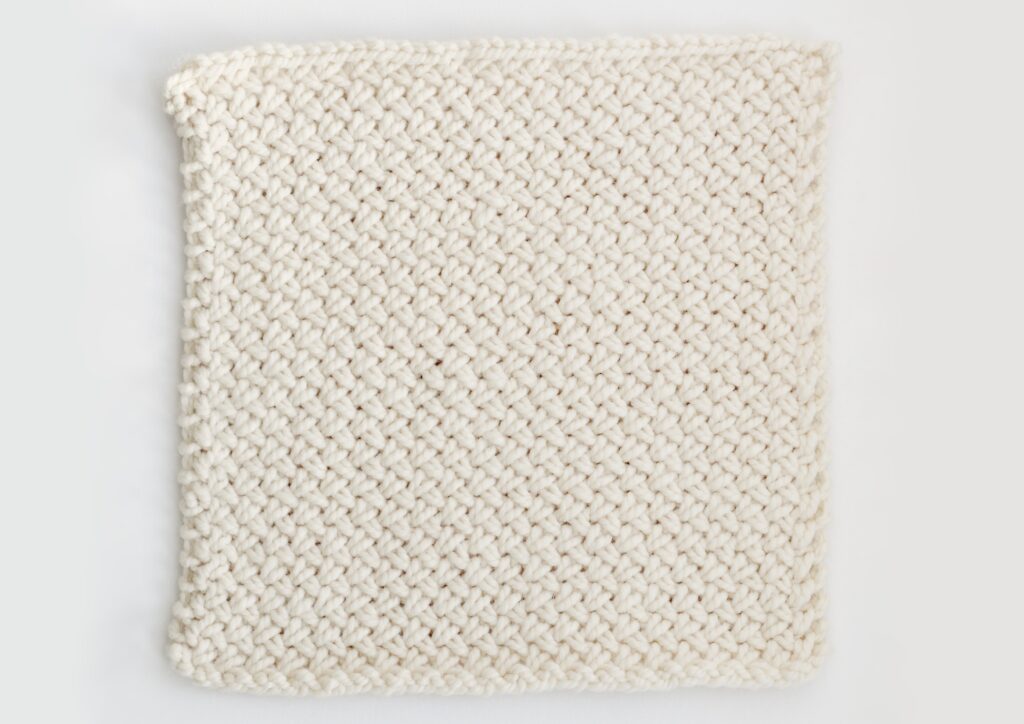
The basket weave stitch I used is also called ‘wicker stitch’ and ‘criss cross stitch’. I found it worked up easiest using large knitting needles and loose stitches. Below I’ve included a link to a video tutorial where I go over the stitch in detail (I hope it’s helpful if you’re new to this stitch).
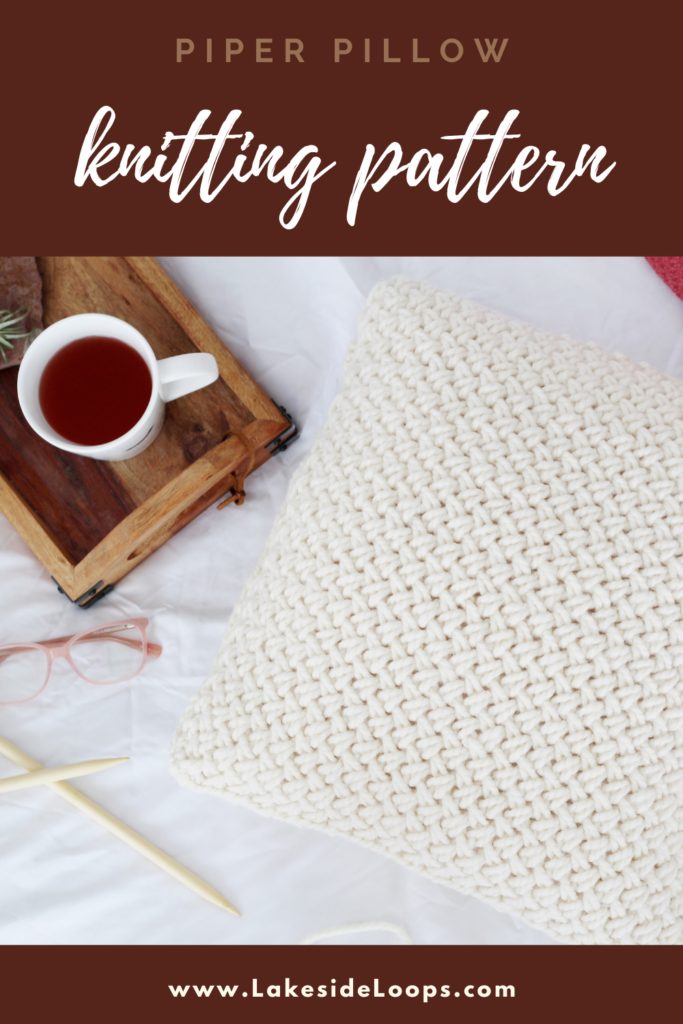
I enjoyed using Lion Brand Yarn’s Wool-Ease® Thick & Quick®. It’s got great texture and thickness. The project works up quickly with the super bulky fibre and after using the cushion cover in my house the last few months it’s held up well to two kids and a pup! I used only 3 skeins in the colour ‘Fisherman’ [640-099]. You can find the yarn HERE . . it comes in a variety of beautiful colours!
I hope you enjoy this pattern! Let’s get started . . .
G A U G E 11 sts and 10 rows in basketweave stitch to measure 4” (10cm) square 8 sts and 12 rows in stockinette stitch to measure 4” (10cm) square
P A T T E R N A B B R E V I A T I O N S st(s) – stitch(es) k – knit p – purl rep – repeat
N O T E S • The project is made in three pieces then sewn together (front basket weave section and two stockinette back sections that form envelope closure) • Stitch count in [ ] at the end of each row
V I D E O T U T O R I A L There is a video tutorial available for this pattern on YouTube: https://youtu.be/liAqCCfk2qQ
W R I T T E N P A T T E R N
FRONT (WICKER STITCH) SECTION
Cast on 45 sts
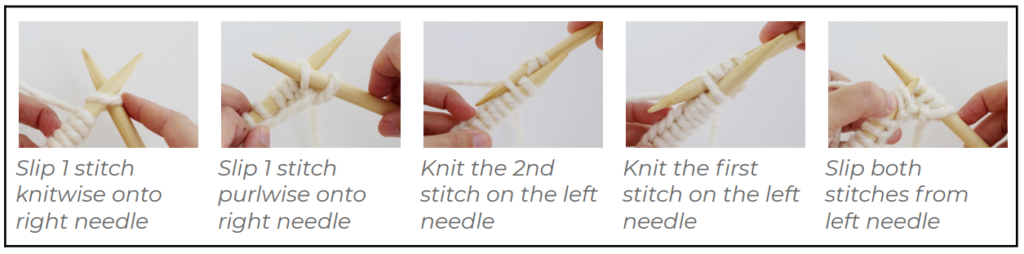
Row 1 Slip 1 stitch knitwise onto right needle, Bring yarn to the front, Slip 1 stitch purlwise onto right needle, Bring yarn to the back, *(Knit the second stitch on the left needle (from behind), Knit the first stitch on the left needle, Slip both stitches from left needle), Repeat from * until 1 stitch remains, Knit last stitch [45 sts]
Row 2 Slip 2 stitches purlwise onto right needle, Bring yarn to the front, *(Purl second stitch on the left needle, Purl the first stitch on the left needle, Slip both stitches from left needle), Repeat from * until 1 stitch remains, Knit last stitch [45 sts]
Row 3 to Row 41 Repeat Row 1 and Row 2 until you have completed 41 rows
Cast off and weave in ends
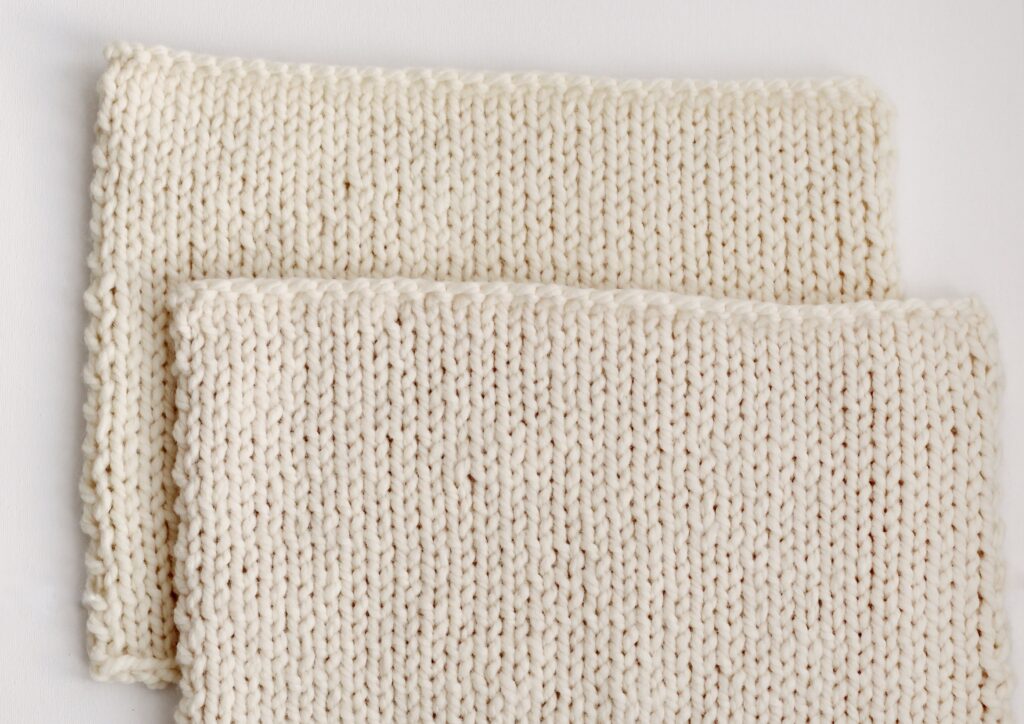
BACK (STOCKINETTE STITCH) SECTIONS
Cast on 32 sts
Row 1 Knit all stitches [32 sts]
Row 2 Purl all stitches [32 sts]
Row 3 to Row 34 Repeat Row 1 and Row 2 until you have completed 34 rows
Cast off and weave in ends
Repeat to make a second Back Section
SEAMING
Block the finished pieces to size by pinning down to 41cm x 41cm for basketweave front section and 41cm x 31cm for each stockinette back section. Steam and let dry.
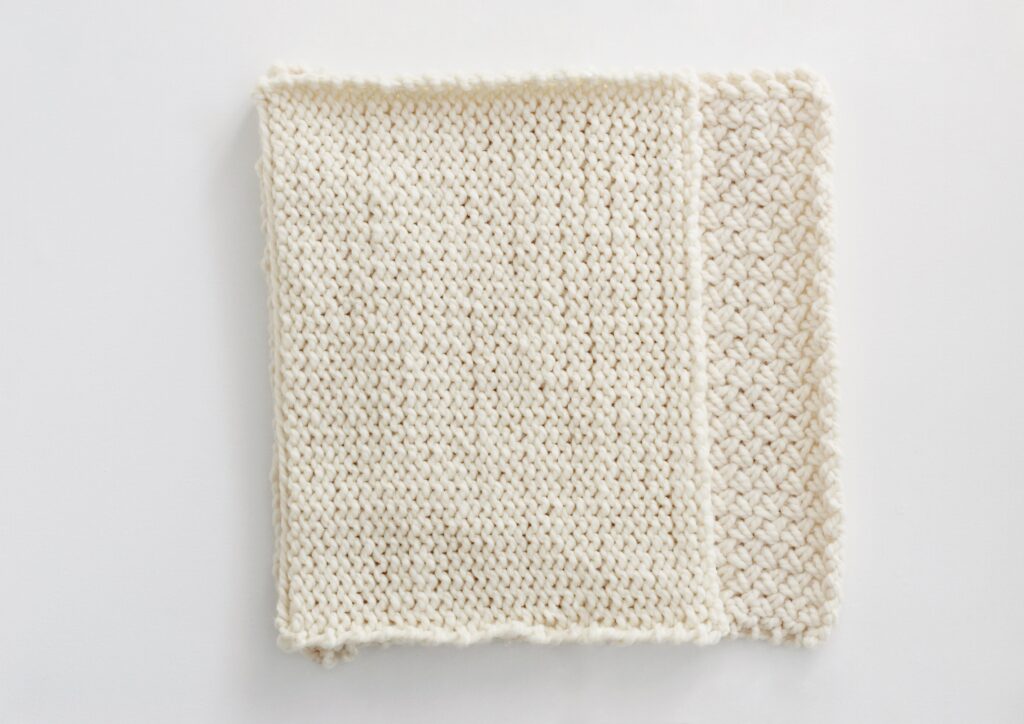
Lay the basketweave front section down so the basketweave pattern is facing up.
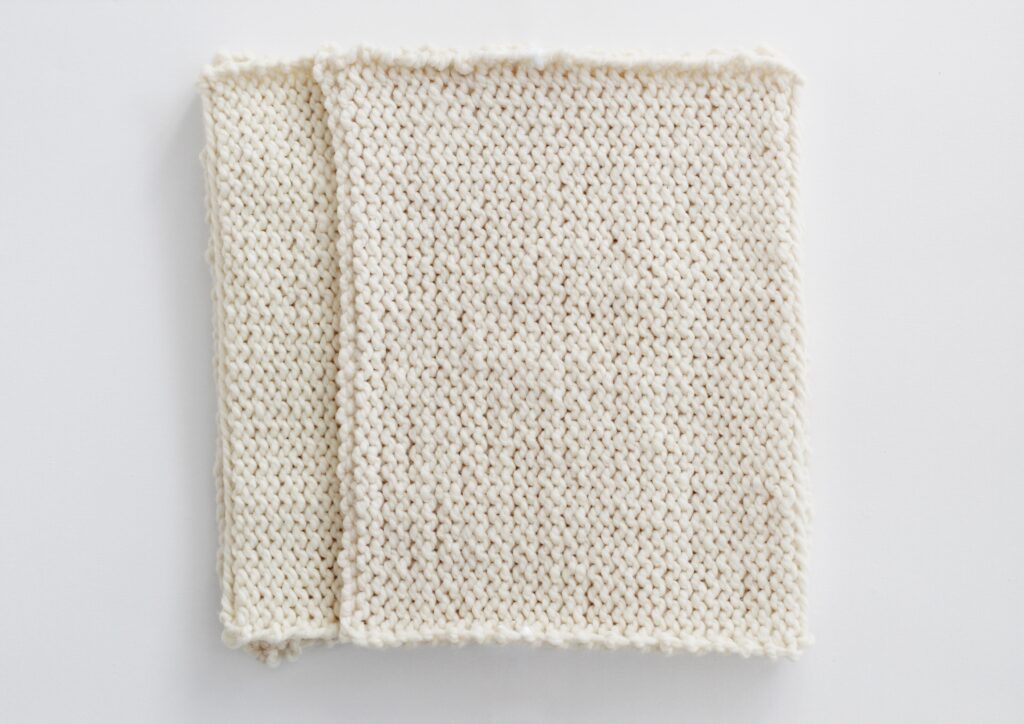
Lay the first stockinette back section on top so the knit side faces down and the first rows of each section match up.
Lay the second stockinette back section on top so the knit side faces down and the first row of the back section lines up with the last row of the front section (the two back sections will overlap).
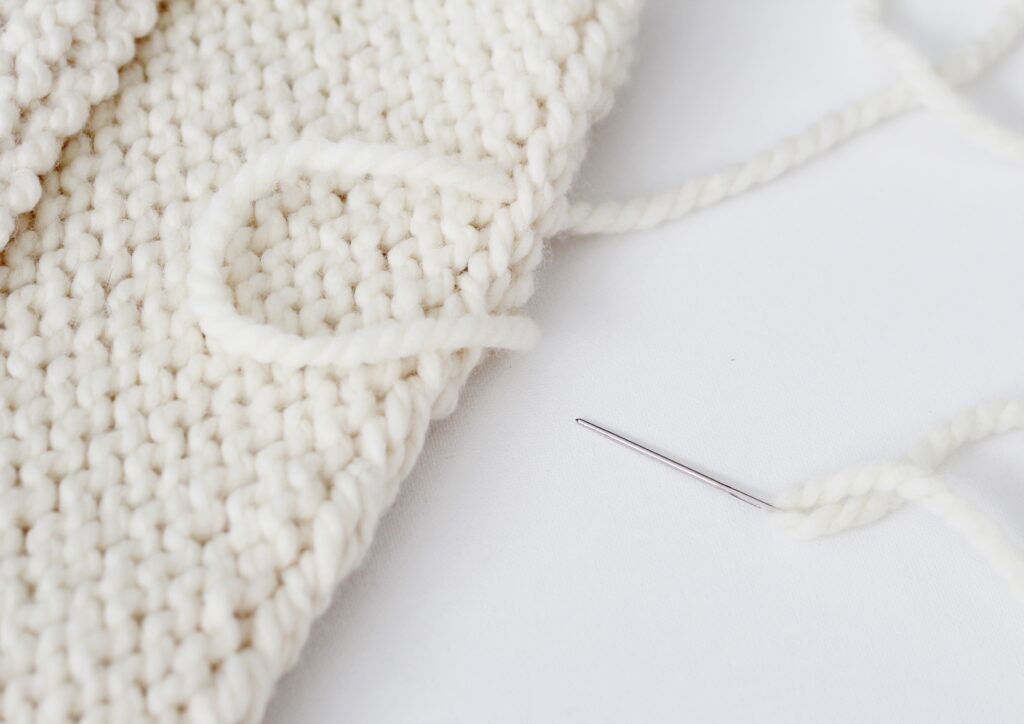
Thread yarn needle with yarn and sew around edge of cushion cover to attach front and back sections.
Turn cushion cover right side out and place cushion insert into cover via the enveloped back panels.
Back
Front
Thank you for L O O P I N G together this L A K E S I D E inspired project with me! I hope you enjoyed this pattern and please don’t forget to tag me in your knitted market bag pictures (@lakesideloops) because I always love seeing your work! Take care. xx
This provides a sensible distinction the local period, something want to replica watches see when you're getting started, as well as other capabilities.