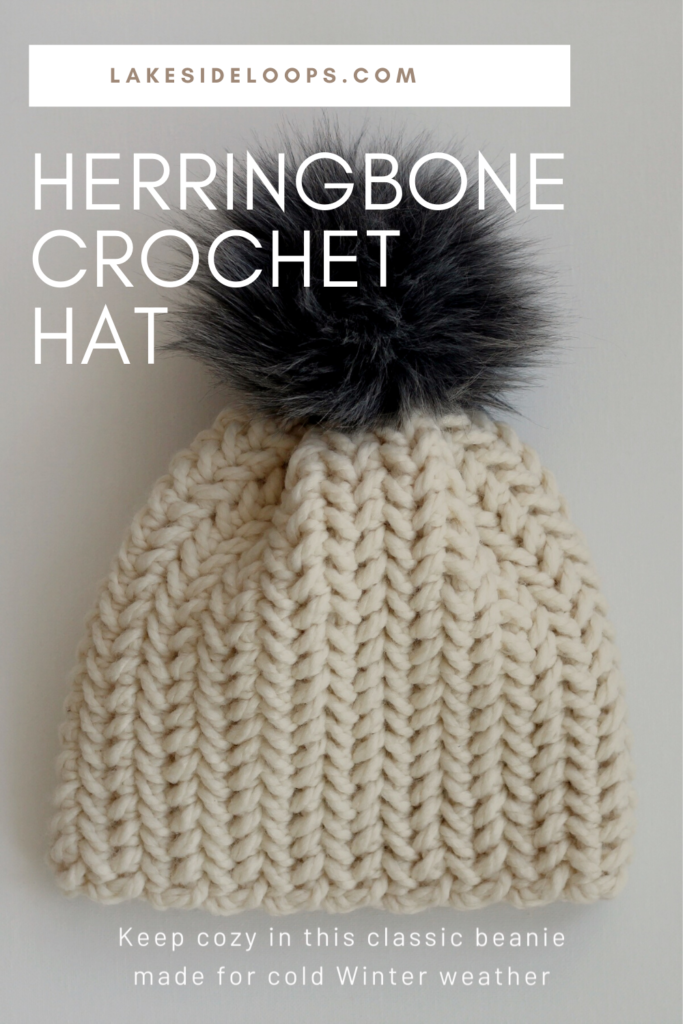
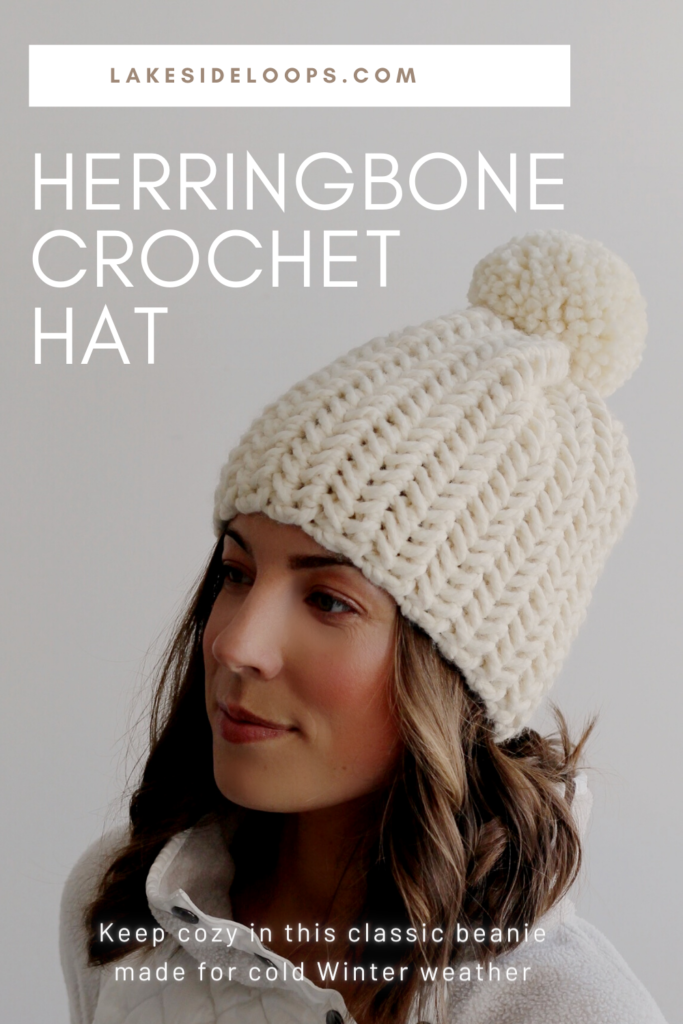
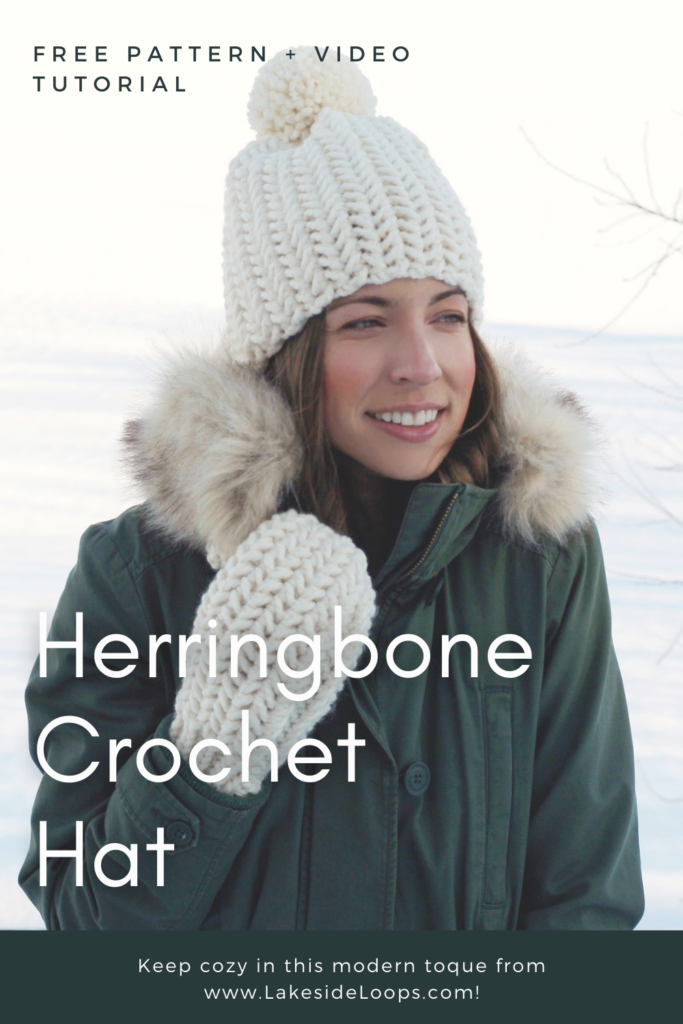
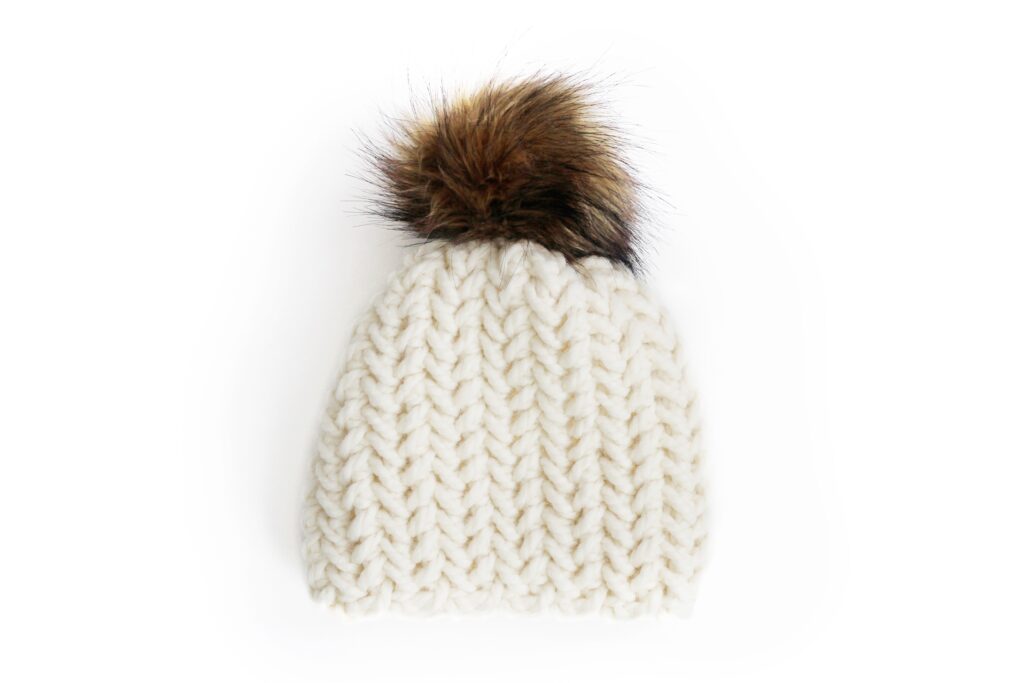
Keep cozy in this modern herringbone stitch crochet beanie! This toque is a classic Winter staple for those cold weather months. You can make a baby, toddler, kids, or adult size hat with these instructions. The pattern is beginner friendly thanks to the included video tutorial and step by step pictures. The beanie works up quickly thanks to Lion Brand’s Wool Ease Thick & Quick super bulky yarn . . this would be a great toque to sell in your shop or give as a last minute gift! Scroll down for the free instructions or purchase an inexpensive downloadable PDF from Etsy HERE or Ravelry HERE!
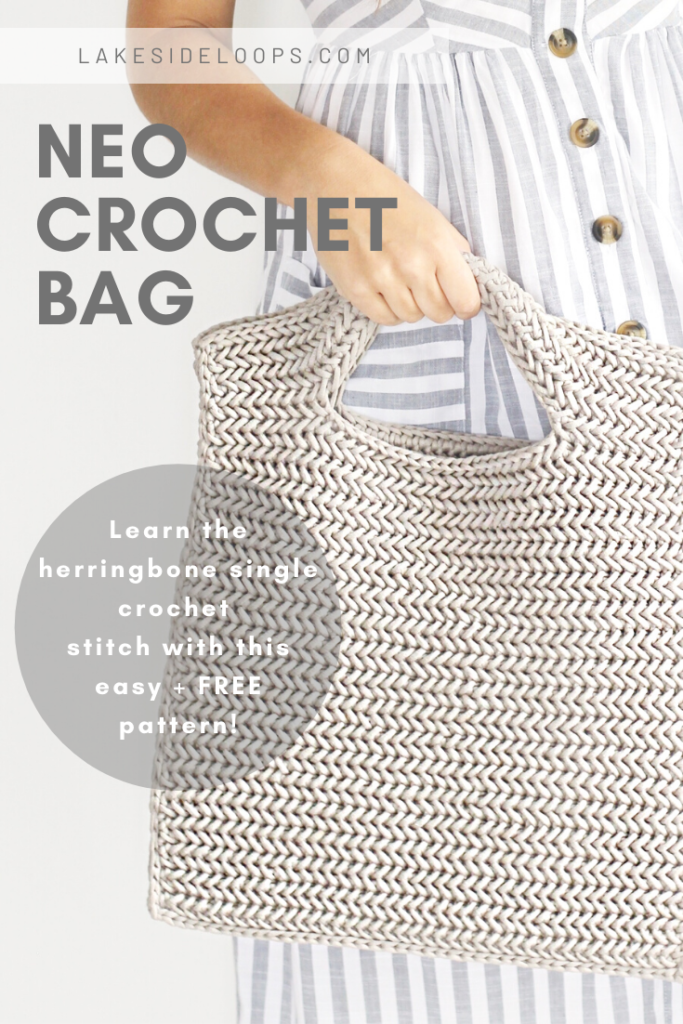
This pattern was inspired by a bag (the Neo Crochet Bag) if you can believe it! I designed the Neo bag last Spring and I fell so in love with the stitch that I couldn’t wait to use it again on a Winter piece. Because the stitch creates such a dense material I knew it couldn’t be a sweater or cardigan and wasn’t even sure it would work with a hat until I gave it a go. I really like how it looks like knitted herringbone but it’s achieved with a simple crochet hook and single crochet like stitch (more on that below).
Image: Neo Crochet Bag – Find the FREE pattern HERE
I knew from experimenting while creating the Neo bag that this herringbone stitch looks best in a thick yarn. Using Lion Brand Yarn’s Wool-Ease® Thick & Quick® for this project was a lot of fun. It’s SO thick and soft! The hat works up crazy quickly with this super bulky acrylic/wool yarn combo. I like that it comes in over 60 colors too . . sooo many possibilities! You can purchase the yarn HERE (I used the color ‘Fisherman’).
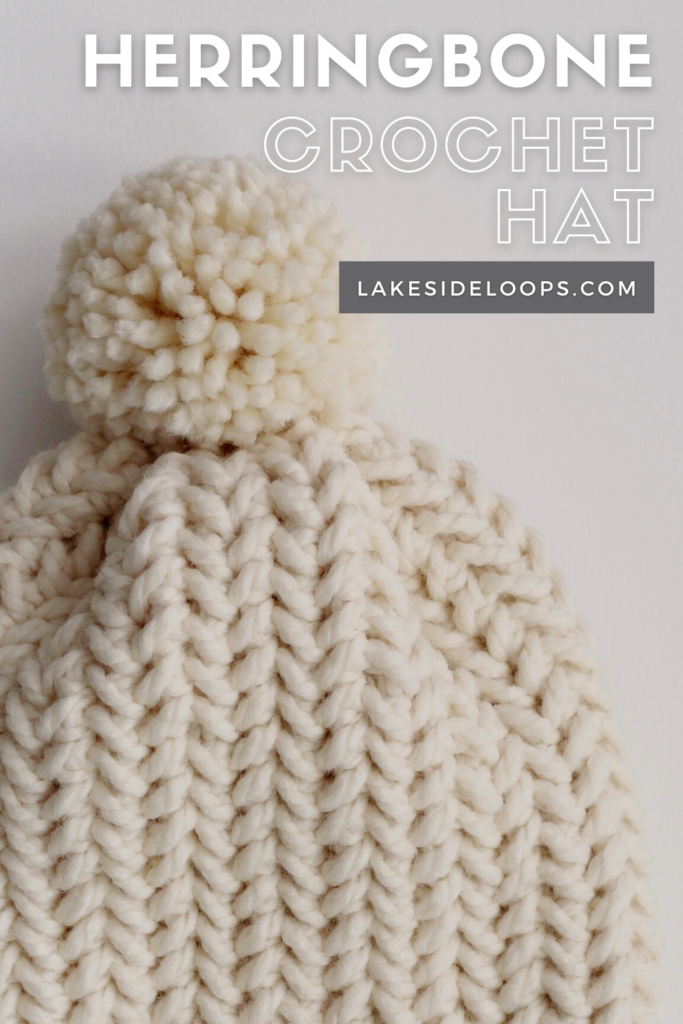
Because this toque is so thick, closing up the top isn’t pretty (or at least the way I did it haha) so a pom pom was a must! I’m a huge pom pom fan though so this was likely to happen anyway. I really like the look of both a yarn pom and a faux fur pom. Usually I prefer faux fur but the huge yarn pom just fits so well with this beanie (in my opinion). I used the large 3 3/8″ (85mm) pom pom maker from Clover (found HERE) and faux fur vegan pom poms from Rainbow Designs on Etsy (found HERE).
As you may have noticed from some of the pictures, yes, I have designed a mitten to match the Heath Herringbone Hat!! I’m just adding the finishing touches and hope to have it online ASAP. Keep checking back!
F I N I S H E D S I Z E S F i t s Baby (6-12 months) – 16-17” circumference, 7” length Toddler (1-3 years) – 18-19” circumference, 7.5” length Kids (3-10 years) – 19-20” circumference, 8” length Adult Medium – 20-21” circumference, 8.5” length Adult Large – 20-22” circumference, 9” length
M A T E R I A L S Hook – 7.00mm crochet hook Yarn – Any super bulky yarn (size 6 / ‘roving’ / 14 ply) ◦ Lion Brand® Wool-Ease® Thick & Quick® (in Fisherman) was used ▪ Amounts needed (including enough for yarn pom pom): Baby size ◦ Approx. 80 yards or 74 meters Toddler size ◦ Approx. 98 yards or 90 meters Kids size ◦ Approx. 103 yards or 95 meters Adult Medium size ◦ Approx. 118 yards or 108 meters Adult Large size ◦ Approx. 134 yards or 123 meters Pom Pom – Any yarn or faux fur pom pom
G A U G E 9 stitches = 4 inches 8 rows = 4 inches Stitch for gauge: hsc
P A T T E R N A B B R E V I A T I O N S English (US) terms ch – Chain: Yarn over, pull through loop on hook sc – Single Crochet: Insert hook into stitch, yarn over and pull through stitch, yarn over and pull through both loops on hook hsc – Herringbone Single Crochet: Insert hook into previous stitch’s ‘front bar’ and into next stitch, yarn over and pull through stitch to height of previous stitch, yarn over and pull through all 3 loops on hook sl st – Slip Stitch: insert hook into stitch, yarn over and pull through stitch and loop on hook
N O T E S • Beginning chain does NOT count as a stitch in stitch counts • Example photographs are in ‘Baby’ size • Stitch count in [ ] at the end of each row is in order of size • Hat is worked from side to side and seamed together • Hat is worked in rows
V I D E O T U T O R I A L There is a video tutorial available for this pattern on YouTube: https://youtu.be/NuNnn52N63k
W R I T T E N P A T T E R N English (US) terms
HAT
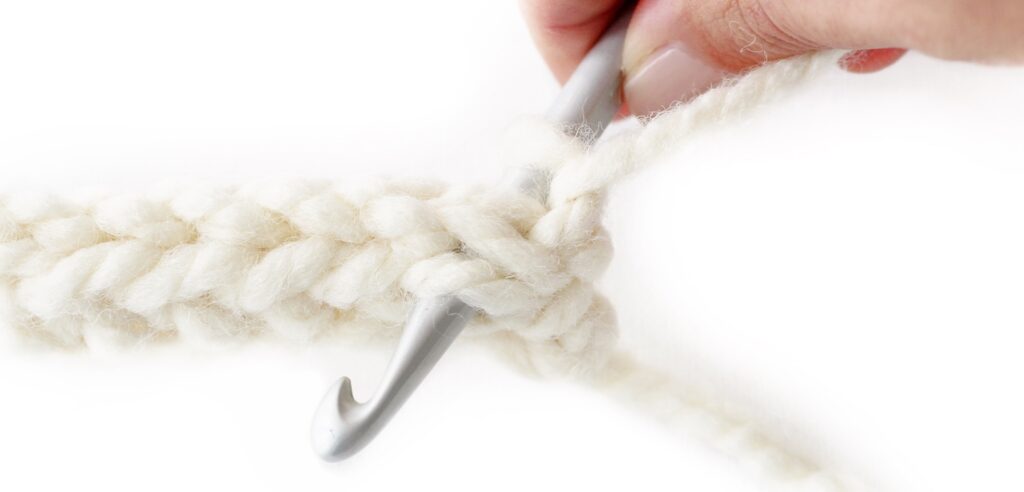
Row 1 Chain: ● 16 – Baby ● 18 – Toddler ● 18 – Kids ● 20 – Adult Medium ● 22 – Adult Large Sc in 2nd chain from hook, hsc until one chain remains, Insert hook into previous stitch’s ‘front bar’ and into last chain, Yarn over and pull through chain and all loops on hook [ 15 sts | 17 sts | 17 sts | 19 sts | 21 sts ]
Row 2 Chain 1, turn, Working from back to front for entire row (as shown below): Loosely sc into first stitch and ‘back bar’, hsc into each stitch and ‘back bar’ until one stitch remains, Insert hook into previous stitch’s ‘front bar’ and into last stitch, Yarn over and pull through stitch and all loops on hook [ 15 sts | 17 sts | 17 sts | 19 sts | 21 sts ]
Row 3 Chain 1, turn, loosely sc into first stitch and ‘back bar’, hsc into each stitch and ‘back bar’ until one stitch remains, insert hook into previous stitch’s ‘front bar’ and into last stitch, yarn over and pull through stitch and all loops on hook [ 15 sts | 17 sts | 17 sts | 19 sts | 21 sts ]
Row 4 and up Repeat Row 2 & Row 3 until you have completed: ● 29 – Baby ● 33 – Toddler ● 35 – Kids ● 37 – Adult Medium ● 39 – Adult Large
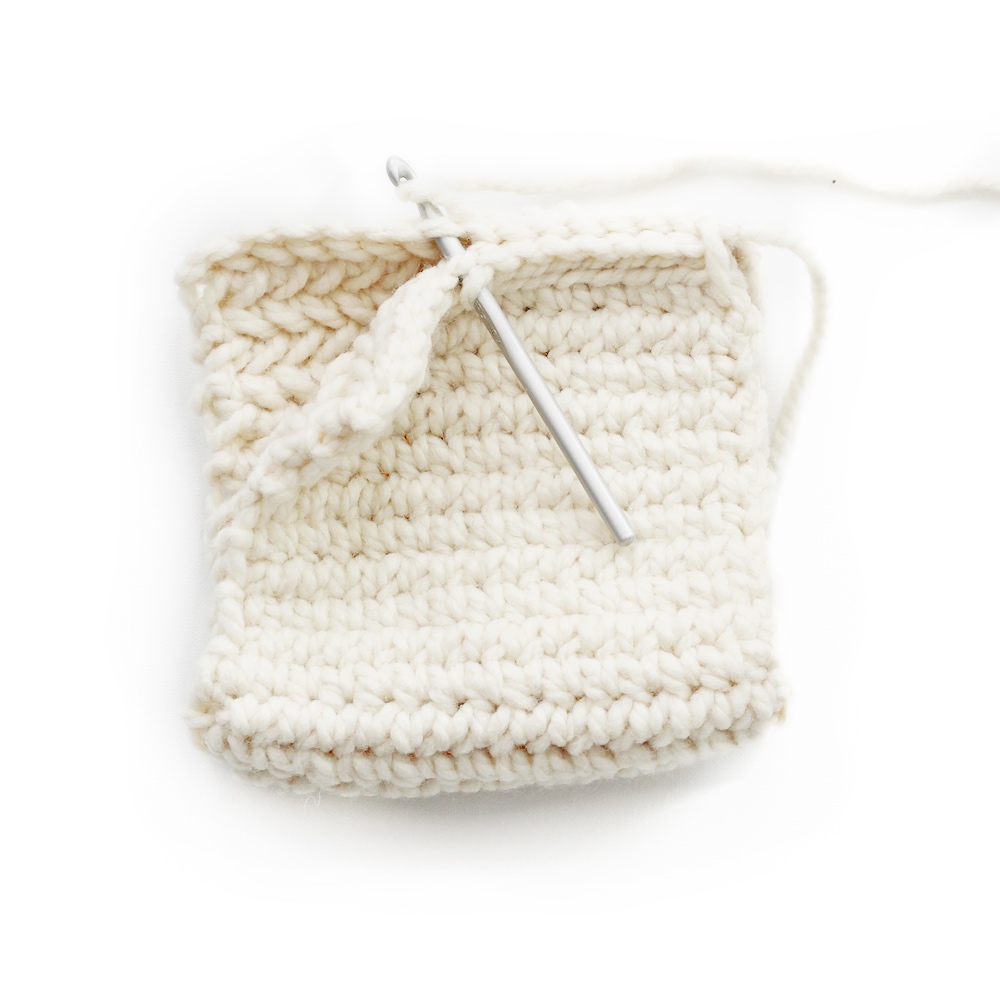
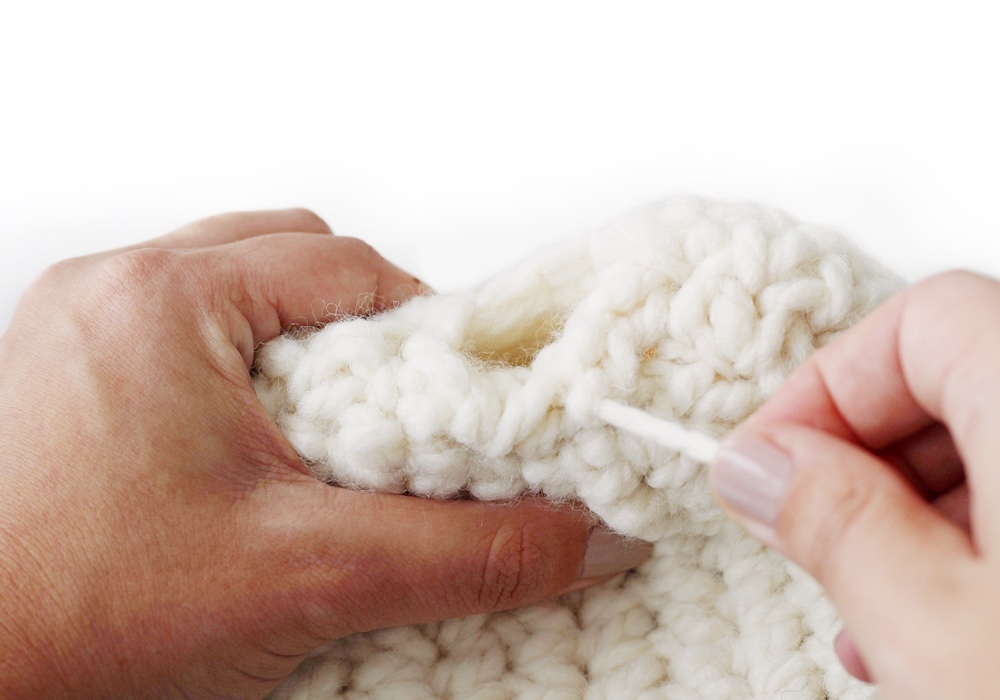
Slip stitch last row to beginning row to form cylinder
Close one open end to form top of hat
Attach pom pom
Thank you for ‘looping’ together this lakeside inspired project with me. I hope you enjoyed the pattern and I look forward to seeing pictures of your finished pieces so please don’t forget to tag me (@LaksideLoops)!
This provides a sensible distinction the local period, something want to replica watches see when you're getting started, as well as other capabilities.