

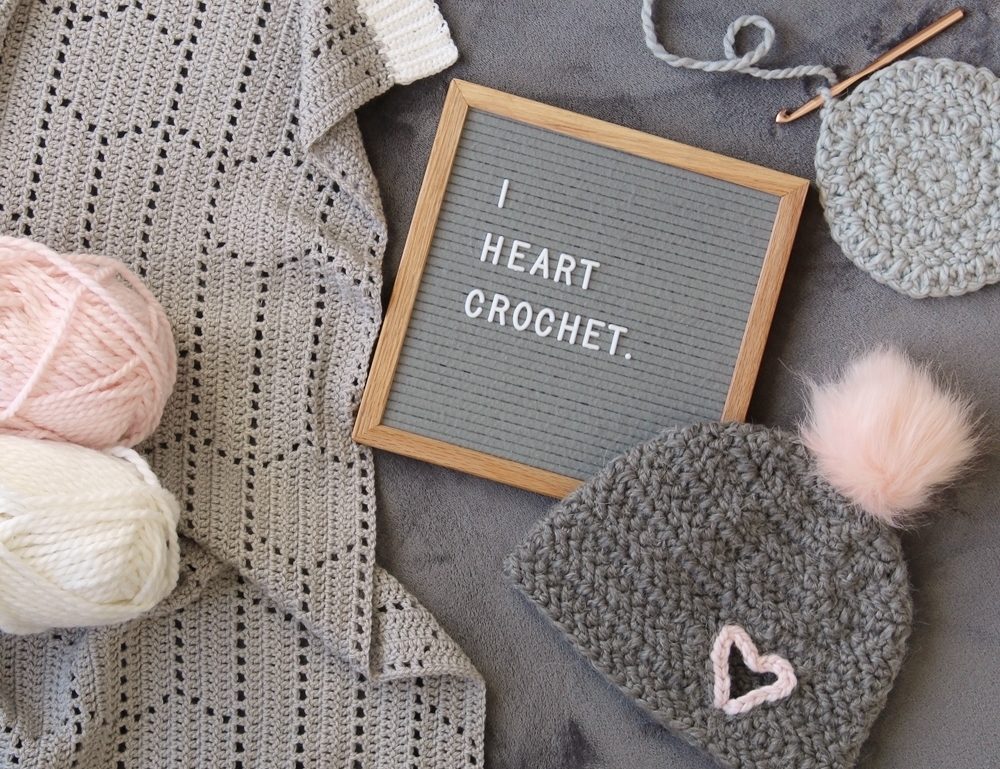
Last year I learned the ‘Herringbone Double Crochet’ stitch and it was just what this hat needed! Now I LOVE the design and couldn’t be more proud to share the pattern with you.
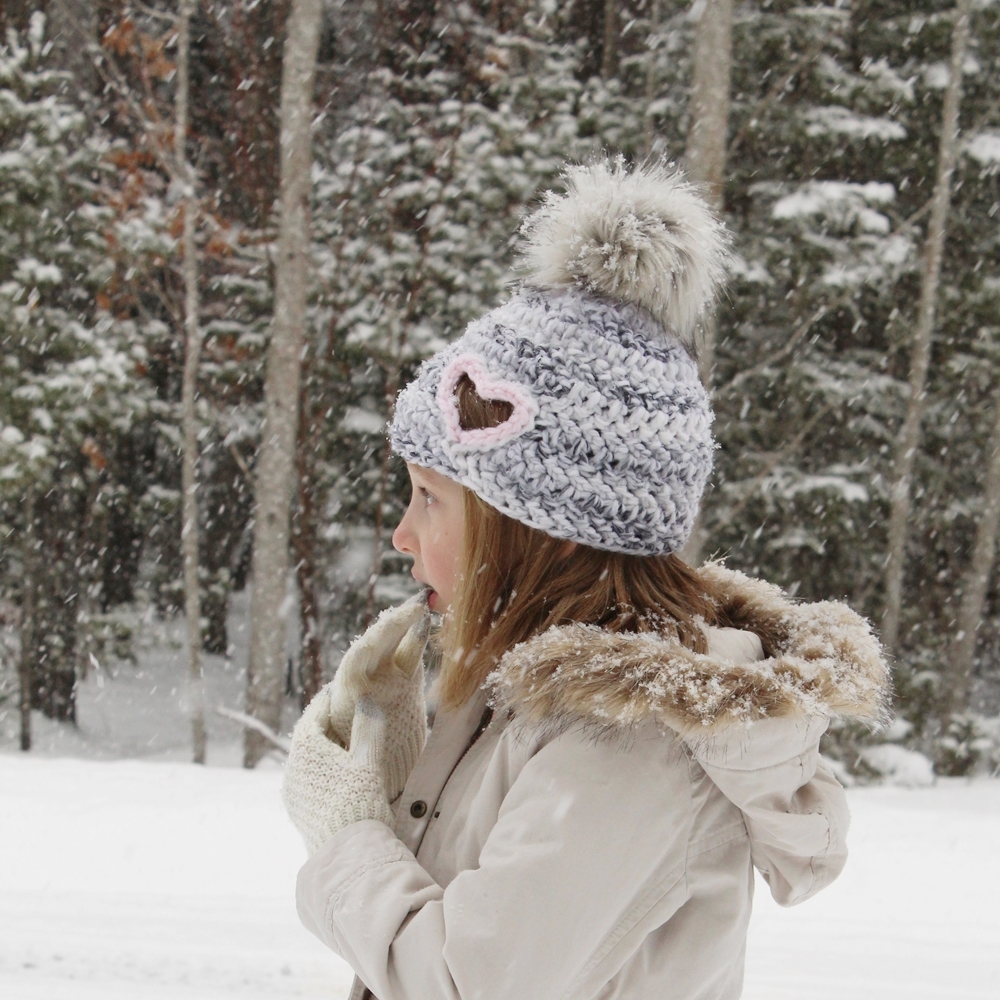
I hope you enjoy both the video tutorial and the written pattern. If you have ANY questions I’m always happy to help any way I can. I’d love to hear your thoughts on the design and to see pictures of your finished pieces (what colors you used, pom or no pom, etc) is always a huge treat for me! So please share!!
The Hailey Crochet Heart Hat
FREE PATTERN
Kids (K) – 18-21” circumference, 7” high
Adult (A) – 21-23” circumference, 8” high
MATERIALS
HOOK:
▪ US 10.75/ UK 2 – 7.00mm crochet hook
YARN:
▪ Any super bulky weight yarn (size 6 / ‘super bulky’ / 14 ply)
◦ Used in items pictured:
▪ Lion Brand Wool-Ease® Think & Quick® – Marble
▪ Loops & Threads® Lush Alpaca™ – Light Pink, Silver, Charcoal, Gray
▪ Bernat® Softee® Chunky™ – Grey Ragg
➢ Kids (K)
Base colour: approx. 67 yards or 61 meters
Contrasting colour: (optional) approx. 1.5 yards or 1.4 meters
➢ Adult (A)
Base colour: approx. 86 yards or 79 meters
Contrasting colour: (optional) approx. 1.5 yards or 1.4 meters
EXTRAS:
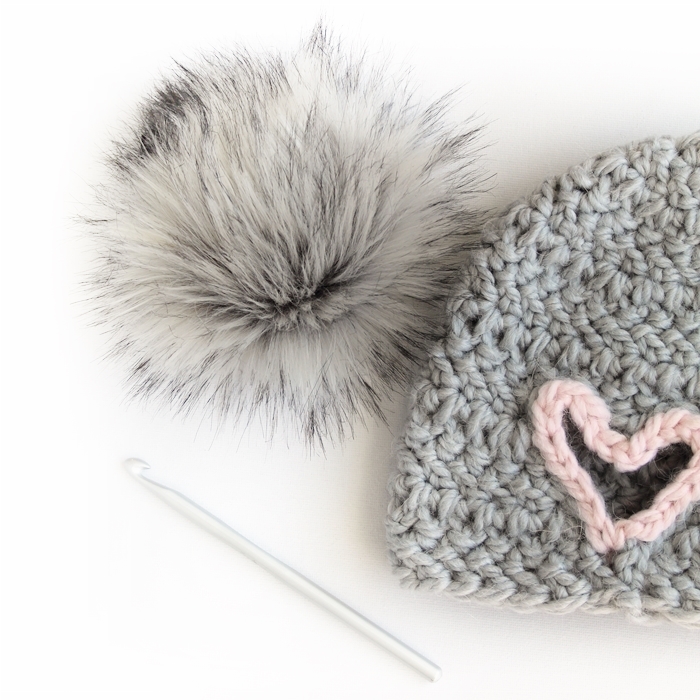
▪ Any yarn or faux fur pompom
◦ Used in items pictured:
▪ Rainbow Designs Faux Fur Pompoms
▪ Stitch Markers
Complete Rounds 1-3, at the end of Round 3 hat’s diameter should be 4 inches
ch – Chain: Yarn over, pull through loop on hook
hdc – Half Double Crochet: Yarn over, insert hook into stitch, yarn over and pull through stitch, yarn over and pull through 3 loops on hook
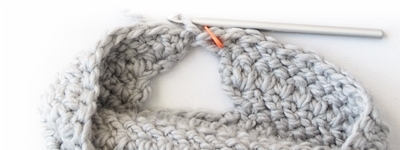
HBdc – Herringbone Double Crochet: Yarn over and insert hook into stitch, yarn over and pull through stitch AND 1 loop on hook, yarn over and pull through 1 loop on hook, yarn over and pull through last 2 loops on hook (watch video tutorial below for demo)
sl st – Slip Stitch: Insert hook into stitch, yarn over and pull through stitch and loop on hook
sts – Stitches: Number of various stitches made in a row/round
BC – Base Colour: Main colour yarn used for the pattern
CC – Contrasting Colour: Secondary colour yarn used for the pattern. Contrasting
stitches are bold and written in red
SM – Stitch Marker: Plastic ring, safety pin, or string of yarn inserted into last stitch
that was made to mark it’s place
• Beginning chain does not count as a stitch in stitch counts
• Hat is worked from the top down
• stitch count in [ ] at the end of each round in order of size (smallest to largest)
• Outlining heart cut out in a contrasting colour is optional. As an alternative to
using super bulky yarn, two strands of DK (8 ply / size 3) yarn could be used
• Join rounds by slip stitching into first stitch made in round, to begin next round
create beginning chain and work first stitch into the same stitch that was used for join (first stitch from previous round) unless otherwise noted (ex: if pattern says to work first stitch where stitch marker was placed)
– There is a video tutorial available for this pattern on YouTube here.
English (US) terms
Ch 3, 7 hdc into 3 rd chain from hook, join with sl st [7 hdc]
Ch 2, 2 HBdc in each stitch around, (place SM), join with sl st [14 HBdc]
Ch 2, turn, beginning in marked stitch:
[HBdc in next stitch, 2 HBdc in next stitch] around,
(place SM), join with sl st [21 HBdc]
Ch 2, turn, beginning in marked stitch:
[HBdc in next 2 stitches, 2 HBdc in next stitch] around,
(place SM), join with sl st [28 HBdc]
Ch 2, turn, beginning in marked stitch:
[HBdc in next 3 stitches, 2 HBdc in next stitch] around,
(place SM), join with sl st [35 HBdc]
FOR KIDS SIZE (K) STOP HERE AND SKIP TO ROUND 8
Ch 2, turn, beginning in marked stitch:
[HBdc in next 4 stitches, 2 HBdc in next stitch] around,
(place SM), join with sl st [42 HBdc]
Ch 2, turn, beginning in marked stitch: HBdc in each stitch around,
(place SM), join with sl st [42 HBdc]
Ch 2, turn, beginning in marked stitch: HBdc in each stitch around,
(place SM), join with sl st [K: 35 HBdc | A: 42 HBdc]
Ch 2, turn, beginning in marked stitch: HBdc in each stitch around,
(place SM), join with sl st [K: 35 HBdc | A: 42 HBdc]
Row 10:
Ch 2, turn, beginning in marked stitch: HBdc in next:
• 30 stitches – Kids (K)
• 37 stitches – Adults (A)
(place SM) [K: 30 HBdc | A: 37 HBdc]
Ch 2, turn, beginning in marked stitch: 2 HBdc, HBdc in next:
• 28 stitches – Kids (K)
• 35 stitches – Adults (A)
2 HBdc in last stitch, (place SM), [K: 32 HBdc | A: 39 HBdc]
Ch 2, turn, beginning in marked stitch: 2 HBdc, HBdc in next:
• 30 stitches – Kids (K)
• 37 stitches – Adults (A)
2 HBdc in last stitch, (place SM), [K: 34 HBdc | A: 41 HBdc]
Ch 2, turn, beginning in marked stitch: 2 HBdc, HBdc in next:
• 32 stitches – Kids (K)
• 39 stitches – Adults (A)
2 HBdc in last stitch, (place SM), join with sl st [K: 36 HBdc | A: 43 HBdc]
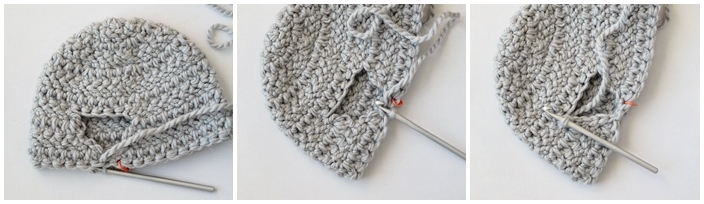
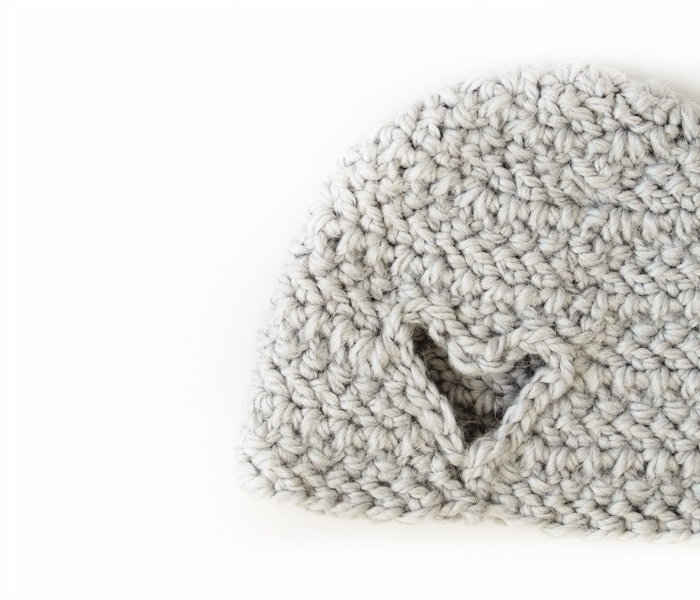
- Turn hat so that newly formed triangle is facing up
- Rotate counter clockwise so that one side of the triangle is parallel with you
- Working along 1st side of triangle sl st in any open spaces (approx. 6 sl st)
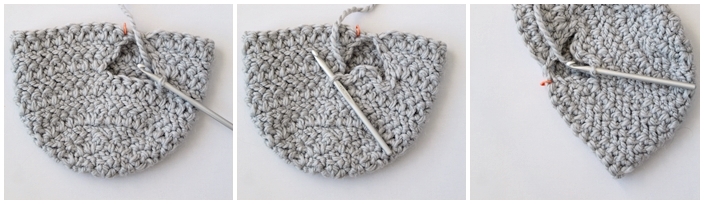
- Rotate counter clockwise so that 2nd side of triangle is parallel with you
- sl st in next 2 stitches, ch 1, HBdc in next stitch, ch 1, sl st in next 2 stitches
- Rotate counter clockwise so that 3rd side of triangle is parallel with you
- sl st in any open spaces (approx. 6 sl st), join with sl st
Round 14:
Ch 2, beginning in marked stitch: HBdc in each stitch around,
join with sl st [K: 36 HBdc | A: 43 HBdc]
Fasten off.
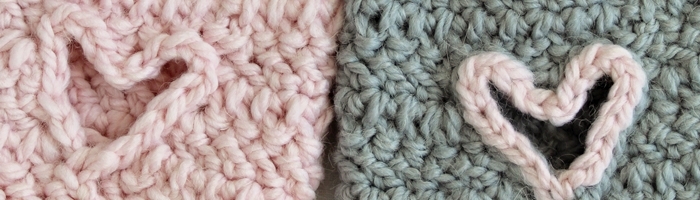
Optional:
Use a contrasting colour to outline heart cut out.
Beginning at bottom of heart: sl st in back loop of first 9 stitches around heart cut out, ch 1, sl st in back loop of next stitch, ch 1, sl st in back loops of remaining stitches around heart
Optional:
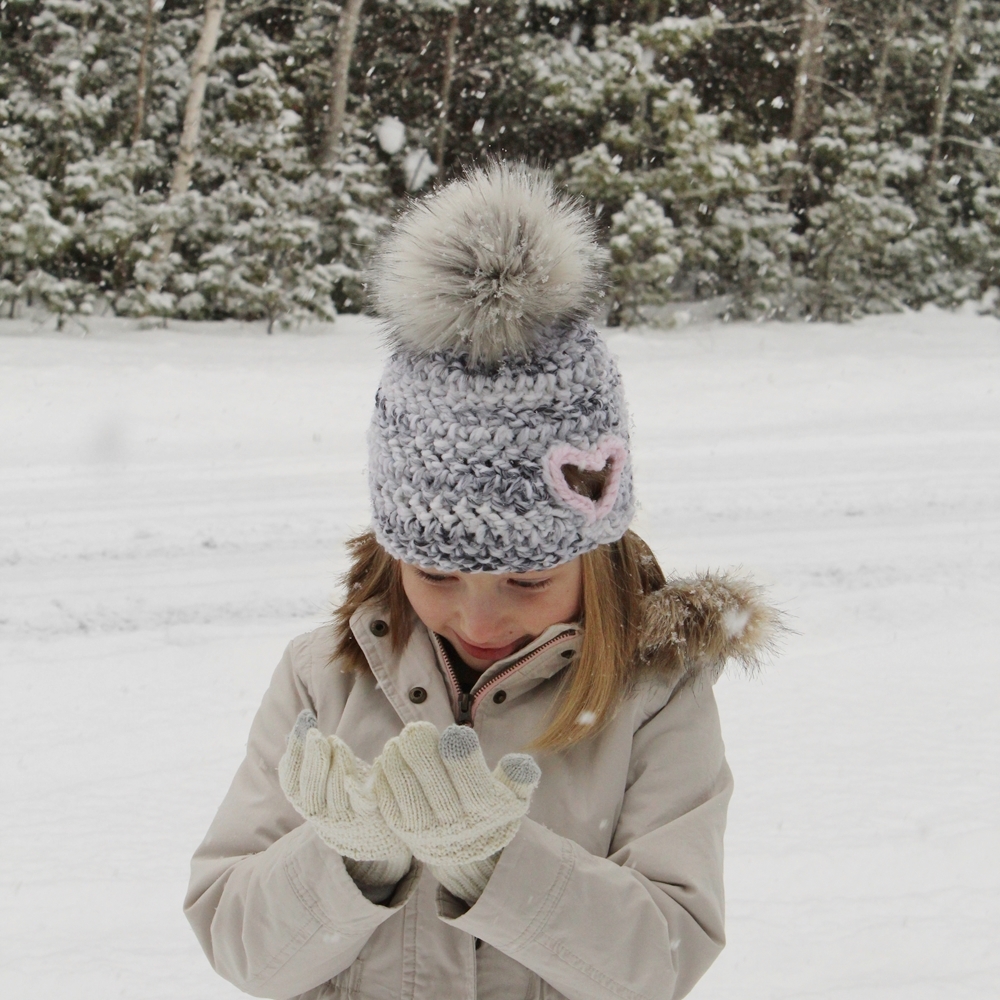
Attach yarn or fur pompom
Thank you for L O O P I N G together
this L A K E S I D E inspired project with us!